We’ve been testing cable modems to learn exactly how to set them up.
And we found some variation from device to device, so stay with us as we explore all the setup possibilities.
Let’s get started!
Preparing for installation
Before you get stuck into setting up your modem, it’s important to prepare. This could save you time overall! Make sure you do the following two things before getting plugged in.
#1 Acquiring your new modem
Buying your modem is the first step (if you don’t have one already, of course). If you need help with finding the right one, we’ve found some of the best ones.
You’ll just need to make sure your modem of choice is compatible with your Internet Service Provider (ISP). You can do that right here.
If you already have one, make sure you check to see that you have everything you need. For example, you’ll need to ensure you have the power cable for the device and an Ethernet cable to get an internet connection.
You’ll also need to grab a coaxial cable, and this hardly ever comes with the modem itself.
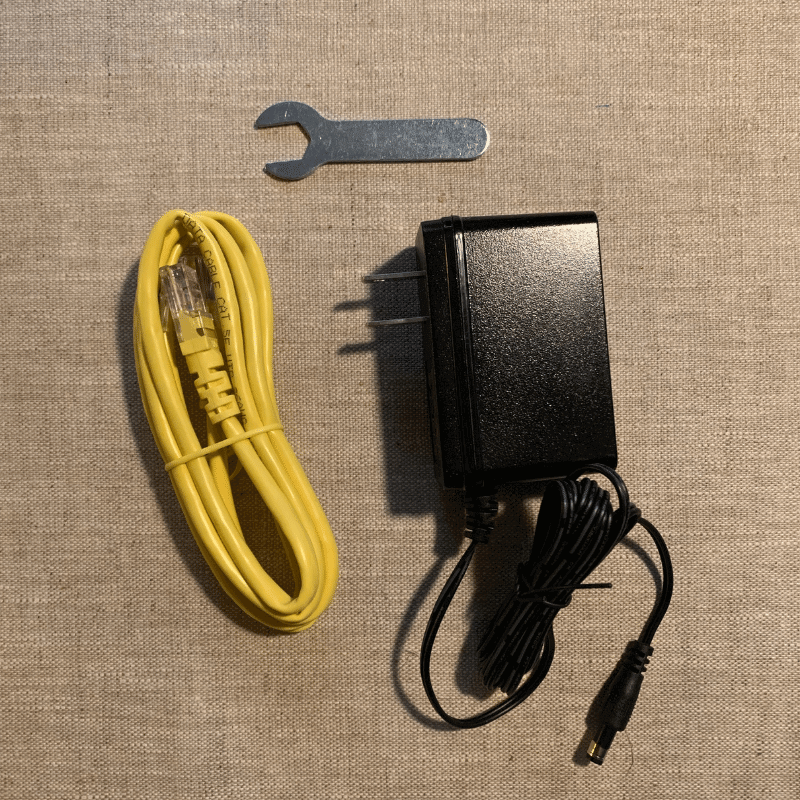
You’ll also probably need a router if you want to connect to multiple devices. However, some modems are also routers, so check the device functionality first of all.
You can do this by reading the information that came with it.
#2 Prepare your modem info and cables
Once you’ve received and unboxed your modem, it’s time to prepare the info you’ll need. This info could be really handy later down the line! So, it’s a good idea to have it at hand.
Firstly, grab your MAC address. You’ll usually find this on a sticker on the device itself. You’ll also want to find the serial number of the device which can be found in the same place.
Lastly, you’ll need your account details for your internet provider. These include your online login details and account number.
It’s a great idea to check you’ve got the right connections, too. All Netgear and Motorola modems will come with a power cable and ethernet cable. But Arris Surfboard modems only come with a power cable.
So depending on the brand, you might have to get your own Ethernet cable and you will always need your own coaxial cable.
Setting up your cable modem
With the prep work out of the way, you’re ready to get the modem plugged in. Remove any previous modem you had and check out the following steps.
#3 Get plugged in and place the modem
First things first, you’ll need to find the cable output in your room. This’ll look like a metal cylinder with a hole in the middle.
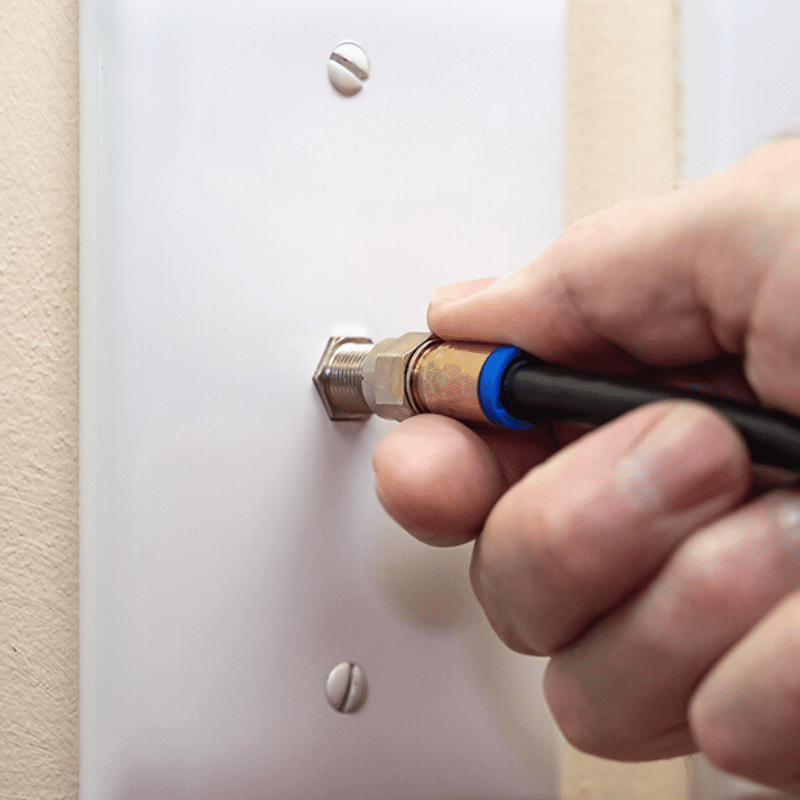
This is where you’ll need to plug in the modem, so having some furniture to place the modem on top of near this is a good idea. There’ll also need to be a power outlet nearby.
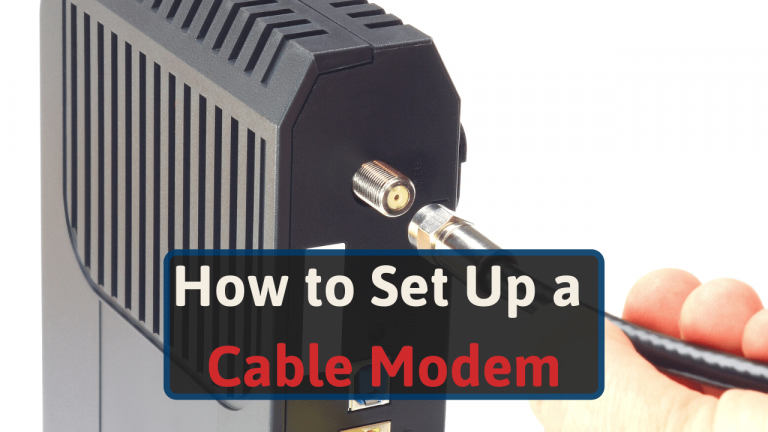
Now, it’s time to plug in. Simply connect the power cable to the mains and the modem. Then, connect the coaxial cable to the cable output and the modem. With this, you should be good to go!
#4 Confirm your internet access
The first thing to do to make sure you’re connected to the internet is to check the lights on the modem.
You should see them begin to switch on and go from amber to green (most of the time) one by one. There’ll usually be five lights that need to power on in total:
- Activity: Confirms that there is electrical activity between the modem and the cable output.
- Online: You’re connected to the internet.
- Upload: Uploading is active.
- Download: Demonstrates that you’re able to download.
- Power: Shows that you’re connected to power.
#5 Activate the modem
All ISPs will require you to activate your modem. Most of the time, you will just need to open a browser and you will be redirected to their activation page.
If you don’t get redirected, just search online for the name of your ISP followed by ‘modem activation’. One of the hits should take you to the activation page you’re looking for.
On the activation page, you will have to provide the device’s MAC ID, found at the bottom of the modem.
There are also times where you may need to call your ISP to activate your internet, as old-fashioned as this may seem.
The last things to consider (Optional)
You’re nearly there! Now that your modem is set up and activated, there are just a couple more things to run through. After you’ve done these bits, you’re ready to go.
#6 Run a test
Connect a device to the internet (ideally a desktop computer or a laptop). Try to load up a web page. If it works, you’re online!
Great work. It might be a good idea to also run a speed test to ensure that you’re getting the speed you were promised by your ISP.
#7 Return any old equipment
If you’re replacing an old modem, it’s really important to return it along with any cables that came with it. If you don’t do this, you’re likely to incur a pretty hefty bill from your ISP. It’s not worth it!
A lot of ISPs will even send you the required packaging so that you can return old equipment to them free of charge. Reach out to them to see if this is something they offer.
#8 Double-check billing etc.
Some ISPs will charge a rental fee for their own modems and routers. If you’ve purchased your own and are sending their one back, you’ll need to make sure this rental fee has been removed.
It’s a good idea to scrutinize your first bill since replacing your router so that you can make sure you’re no longer being charged.
If it’s a new ISP plan, it’s also, of course, important to check that you’re being billed the amount that you signed up for. This should rarely be a problem, but it’s always worth making sure!
Cable modem setup FAQs
Make sure you consider the answers to the following questions before, during, and after you set up your modem!
Which other equipment do I need?
If you don’t get a modem/router combo, you will also need a router.
The difference between a modem and a router is that a modem connects your device to the internet as a whole whereas a router allows you to connect to multiple devices, so you’re probably going to want to have both.
On top of this, you’re going to need to make sure you have the right cables.
While most modems and routers will come with a power and ethernet cable, you’ll also need a coaxial cable. Just check to make sure that your modem hasn’t come with one already before you go out and buy one.
How do I connect new devices?
Now that you’ve set up your modem, you’ll need to install a router. That is, of course, unless you’re using a modem that’s also a router.
Check out our article on modem/router vs separate devices for the pros and cons of each option.
Installing a separate router is simply carried out by connecting the two devices together with an Ethernet cable and setting up your router.
Once you’ve done this, you can connect the devices to your new Wi-Fi network. How you do this varies from device to device, but mostly, you’ll need to head into the device’s Wi-Fi settings.
There, you’ll need to select your Wi-Fi network. Next, enter the password that came with the router (unless you changed it already). Now, you should be good to go.
What do I do if I have any issues?
Sometimes, you might need to do a bit of troubleshooting to get your new modem up and running. It can be a real pain if things don’t work as they should do. If you’ve followed the steps in this article closely, you should be good to go.
However, if you can’t access the internet after doing this, there might be a problem. At this point, you’re probably going to want to reach out to your ISP.
They should be your first port of call for troubleshooting. They’ll at least be able to diagnose the problem, but might have to refer you to the modem manufacturer if there is a problem with the device itself.
Wrapping up on setting up a cable modem
So, there you have it. With these steps carried out, you’ll be well on your way to your new Wi-Fi home network. Nice work! If you haven’t got around to grabbing a router to connect to your modem yet, it might be a good idea.
This will allow you to connect multiple devices to your new network. Having a good router is a good idea.
That’s why we put together some router recommendations for you to check out. You’re bound to find the right router for you here!

